
Avoid weak stencil transfers by matching paper type, printer settings, skin prep, and aftercare timing. This daily Audersigt note is built for apprentice training.
This Audersigt daily SEO guide for July 3, 2026 focuses on tattoo transfer paper setup for apprentice training. The goal is practical: help artists and studio buyers make a cleaner decision before the appointment starts, before a wholesale order is placed, or before a new setup becomes part of the daily station.
For this use case, the key need is simple comparisons and visible workflow rules. That means the best choice is not always the most expensive product or the longest spec sheet. The better choice is the product combination that keeps the artist consistent, protects the client experience, and makes restocking easier to repeat.
Products to compare
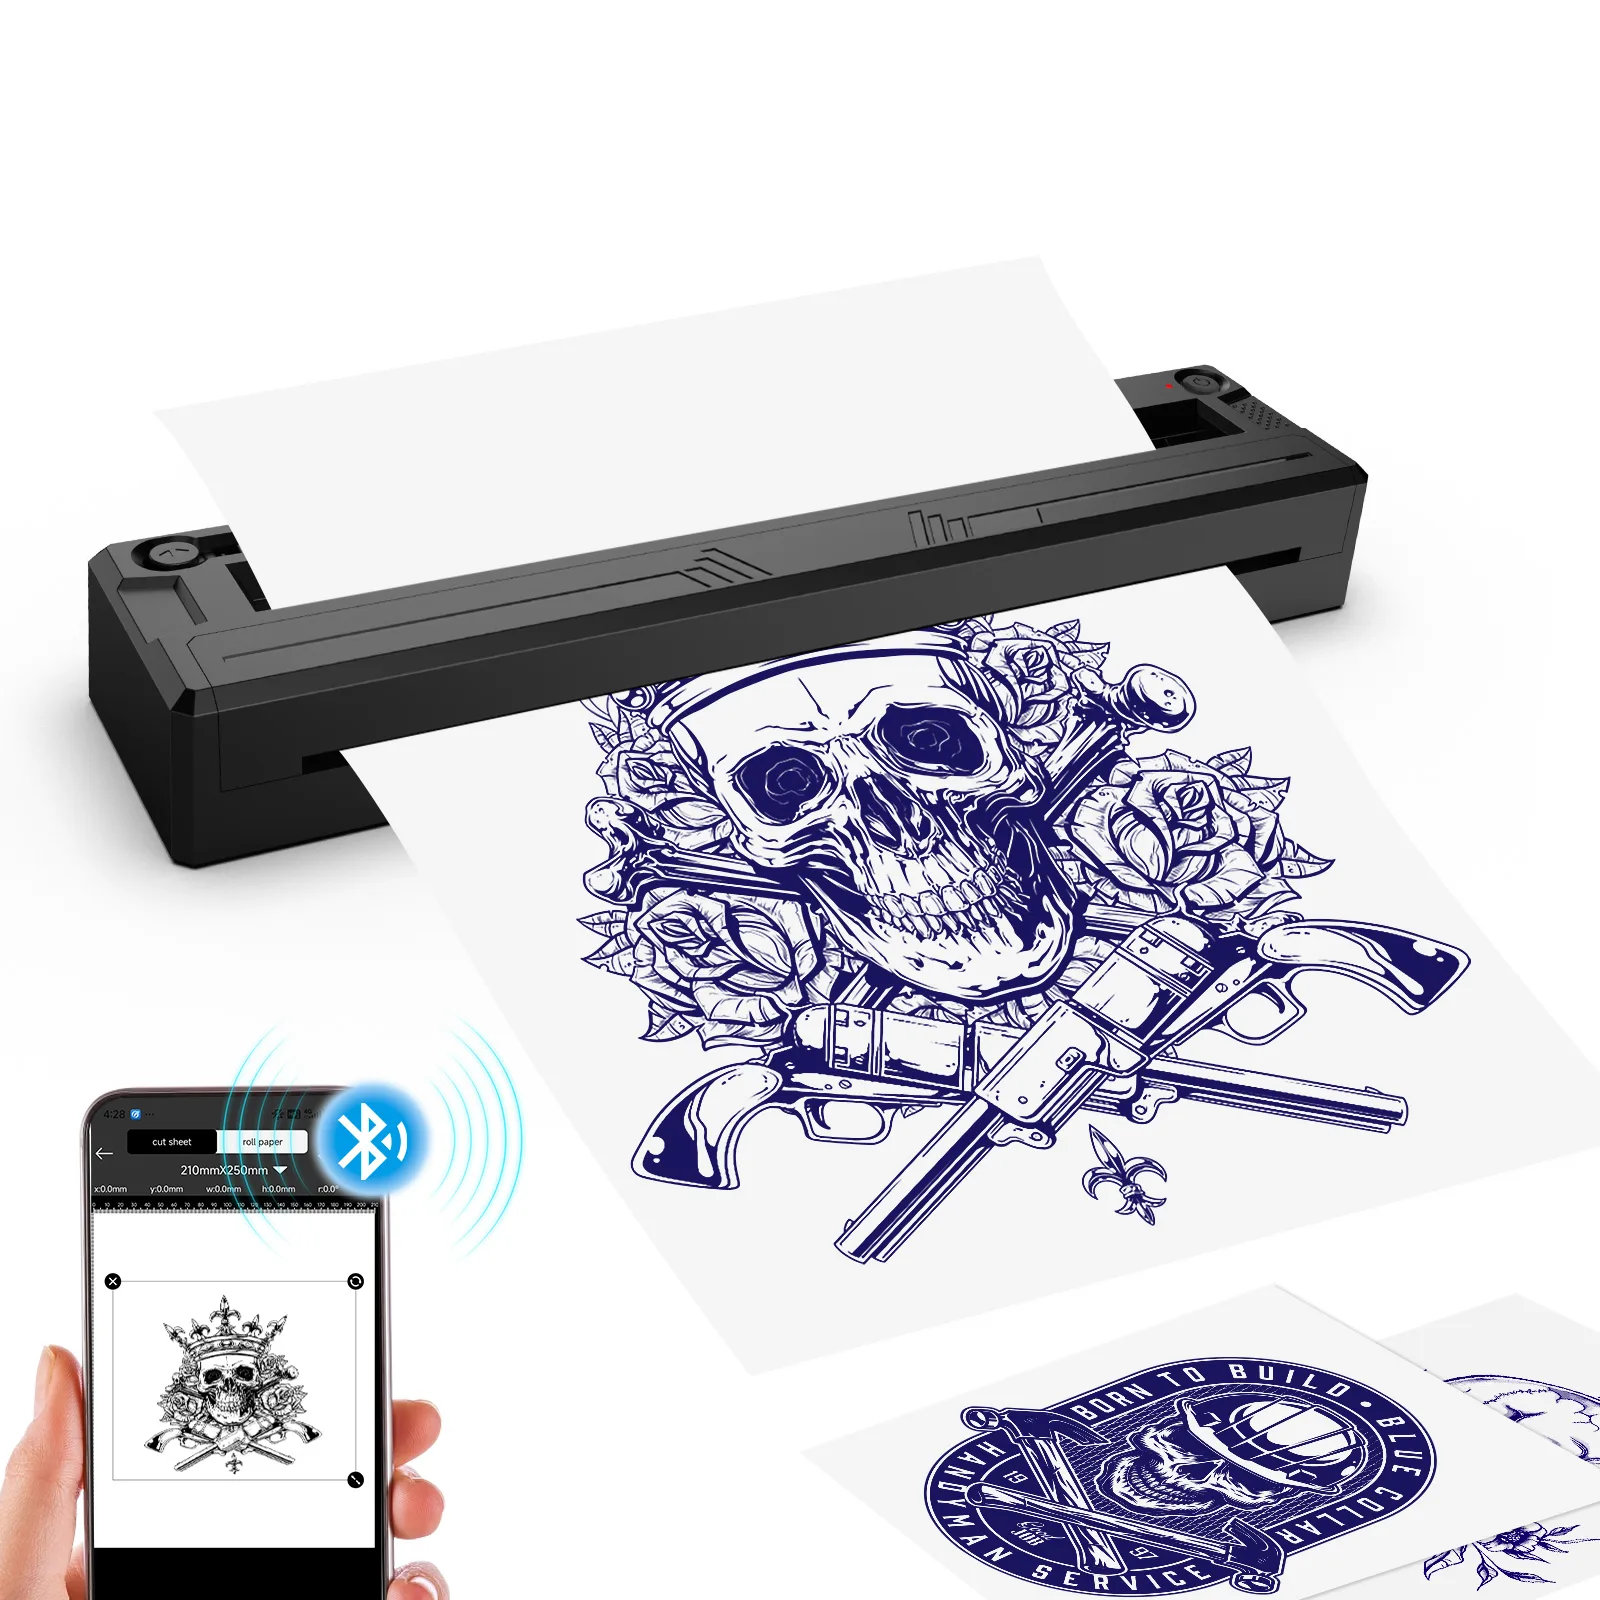
thermal copiers supplies
M8 Mini Bluetooth Thermal Tattoo Stencil Printer
battery 1500mAh
View product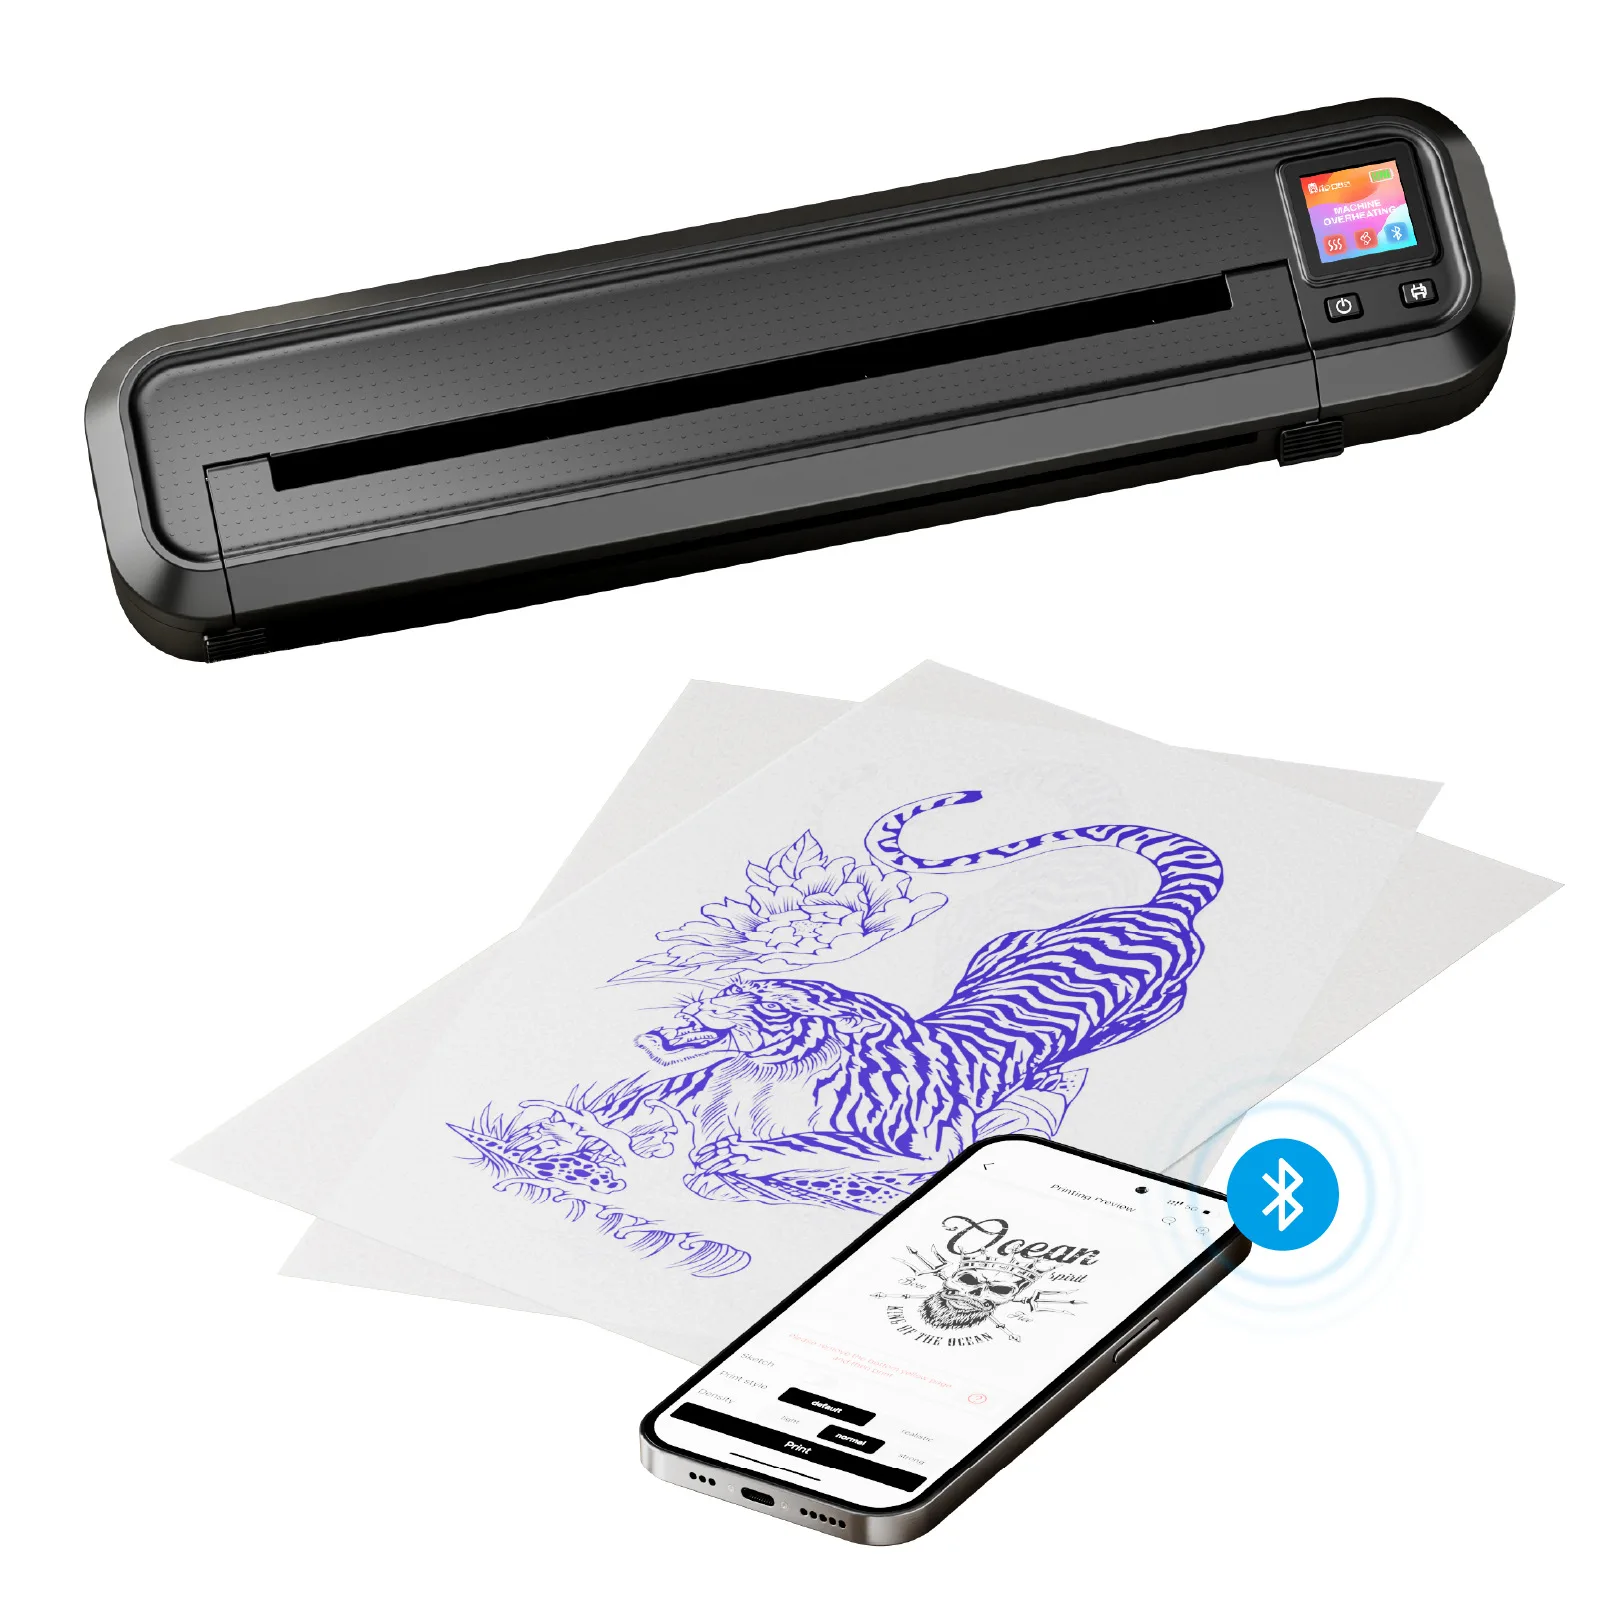
thermal copiers supplies
MHT500 Bluetooth Thermal Tattoo Stencil Printer
battery 2500mAh
View product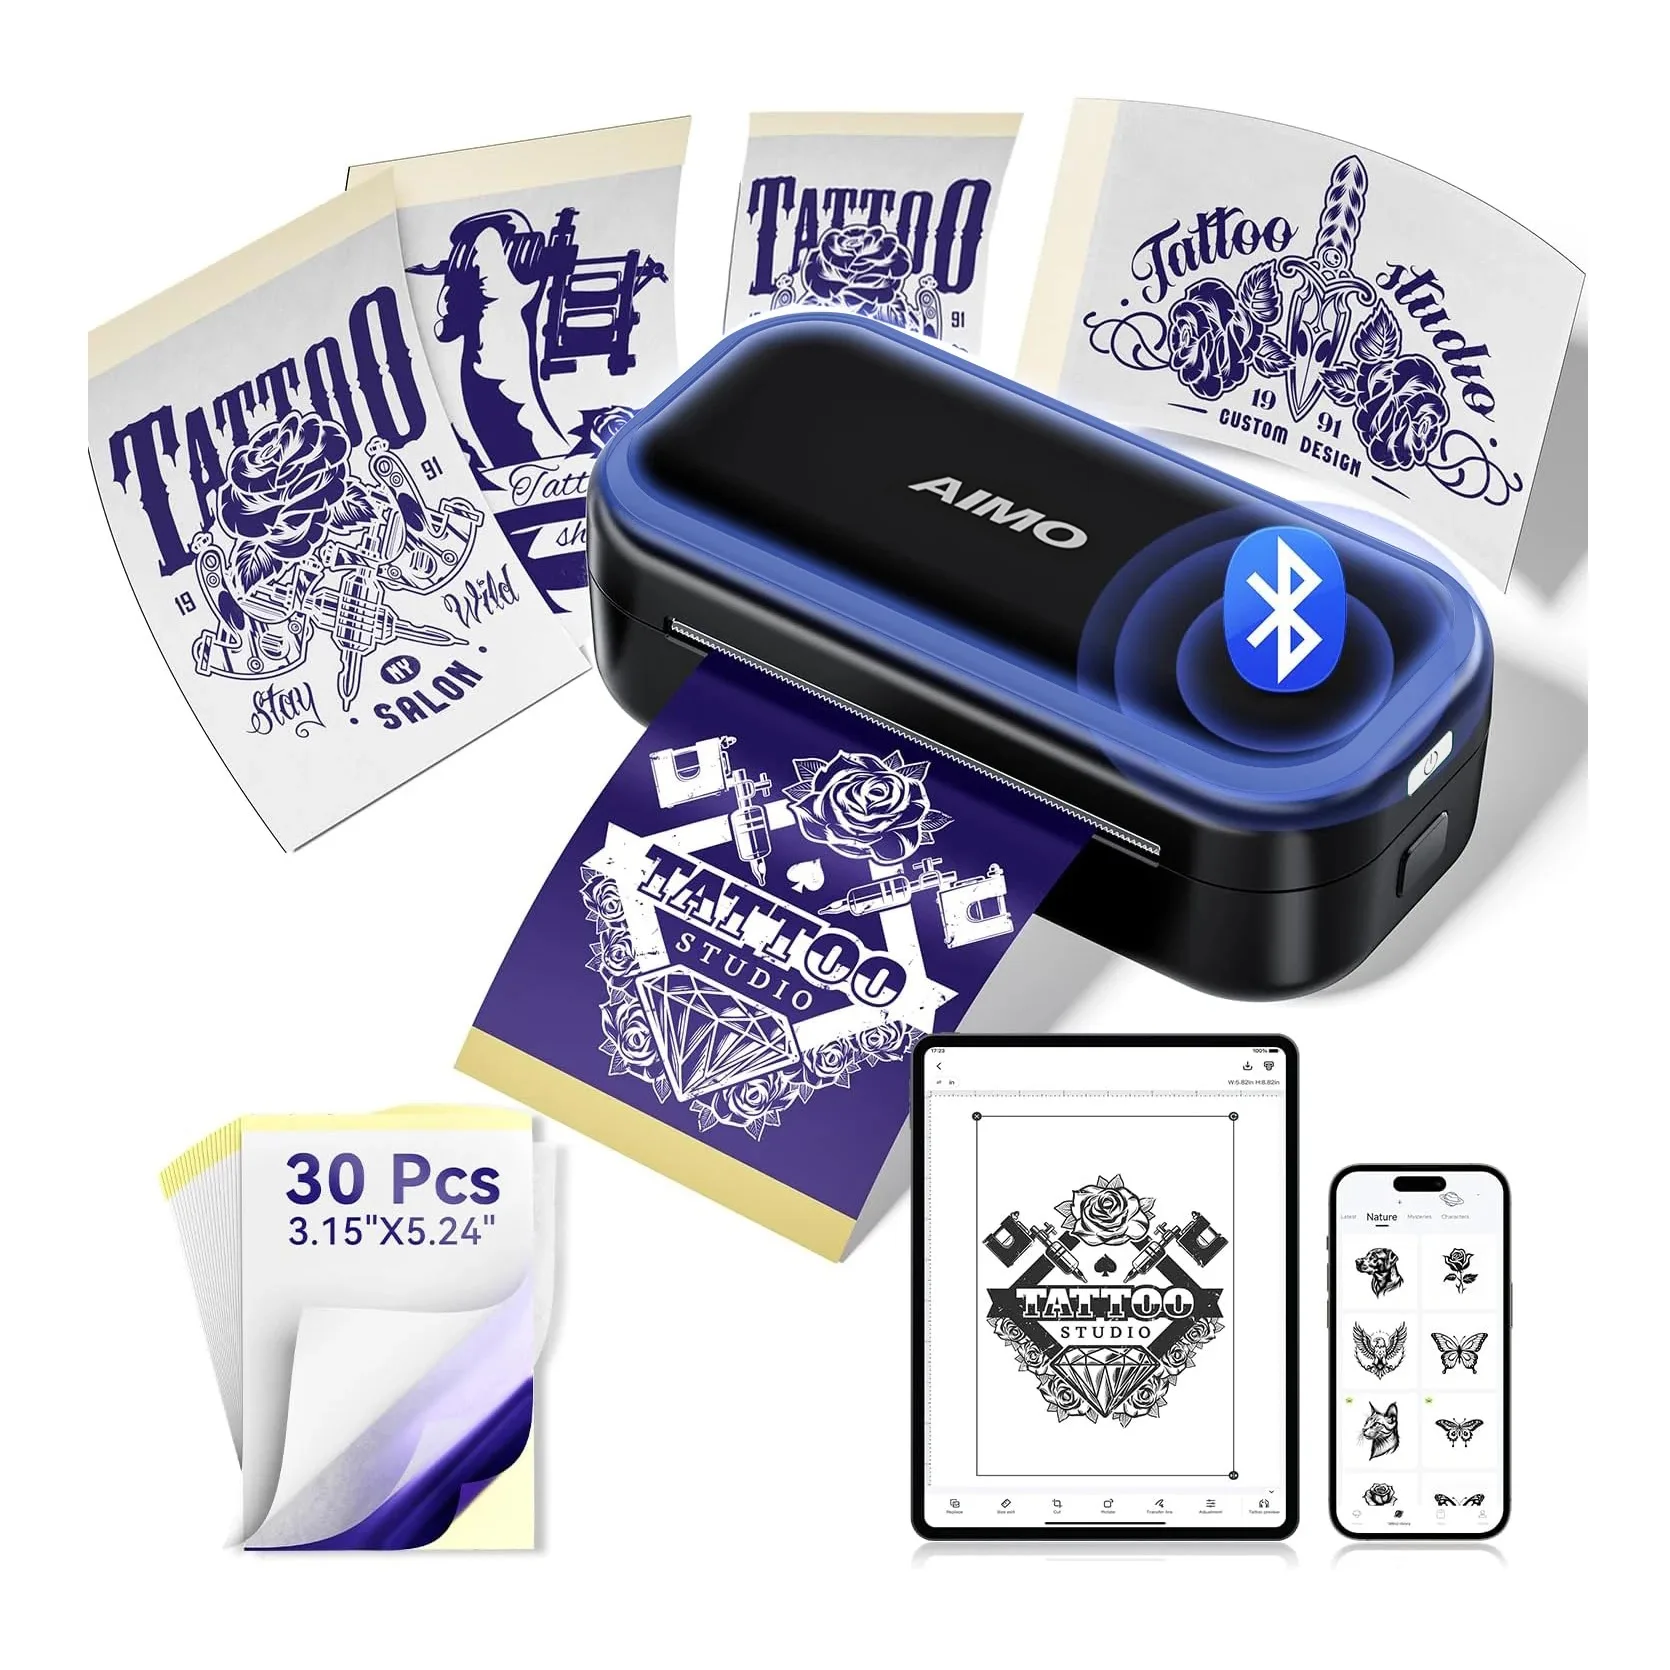
thermal copiers supplies
MR3 Mini Bluetooth Thermal Tattoo Stencil Printer
battery 2200mAh
View productCommon option examples from M8 Mini Bluetooth Thermal Tattoo Stencil Printer include M8 Tattoo Printer Machine / M8-1, Audersigt® Silver Label transfer paper(100 sheets) / M8-2, Audersigt® Gold label transfer paper(100 sheets) / M8-3, Audersigt® transfer paper(100 sheets) / M8-4. Use those examples to plan real station inventory instead of guessing from category names alone.
Buying context
Studios should compare equipment as a workflow, not as isolated products. A tattoo machine only performs well when the cartridge, stencil, power habit, lighting, and hygiene setup support the same technique. A cartridge size only makes sense when the artist's line weight, skin stretch, pigment load, and hand speed are part of the decision.
For apprentice training, start with the products that affect the first thirty minutes of the appointment. If the setup is slow, unclear, or understocked at that point, the rest of the session becomes harder. If the setup is repeatable, the artist can focus on the tattoo instead of solving supply problems.
Setup checklist
- Store paper flat and dry.
- Print one test stencil before a large appointment.
- Trim excess paper for easier placement.
- Clean skin before gel application.
- Keep spare sheets at the station.
Studio workflow notes
Keep one written setup note for this workflow. It should include the machine or tool used, cartridge grouping, voltage or power habit, stencil method, and the backup item that solves the most common failure. The note does not need to be complicated. It only needs to be specific enough that another artist or assistant can prepare the same station tomorrow.
For wholesale buying, separate test products from core inventory. Test products help the studio learn. Core inventory keeps appointments moving. Mixing those two categories is how shops end up with too many unused items and not enough of the supplies that artists reach for every day.
Common mistakes
- Buying by product title without checking the actual variant or SKU.
- Copying another artist's setup without matching hand speed, skin type, or appointment length.
- Forgetting backup power, spare cartridges, or extra transfer supplies.
- Treating fresh results as the only test instead of checking healed consistency.
- Reordering only when stock is already low.
FAQ
**How often should a studio review this setup?** Review it weekly if the product is a daily consumable, and monthly if it is a durable tool such as a machine, light, chair, or printer.
**Should beginners use the same setup as experienced artists?** Beginners should start with a simpler setup and fewer variables. Once technique becomes consistent, they can add specialized cartridges, stroke changes, or workflow variations.
**What is the safest buying rule?** Buy enough to test, document what works, then scale the SKUs that are used repeatedly. That habit keeps the station cleaner and the inventory easier to manage.
Helpful next step