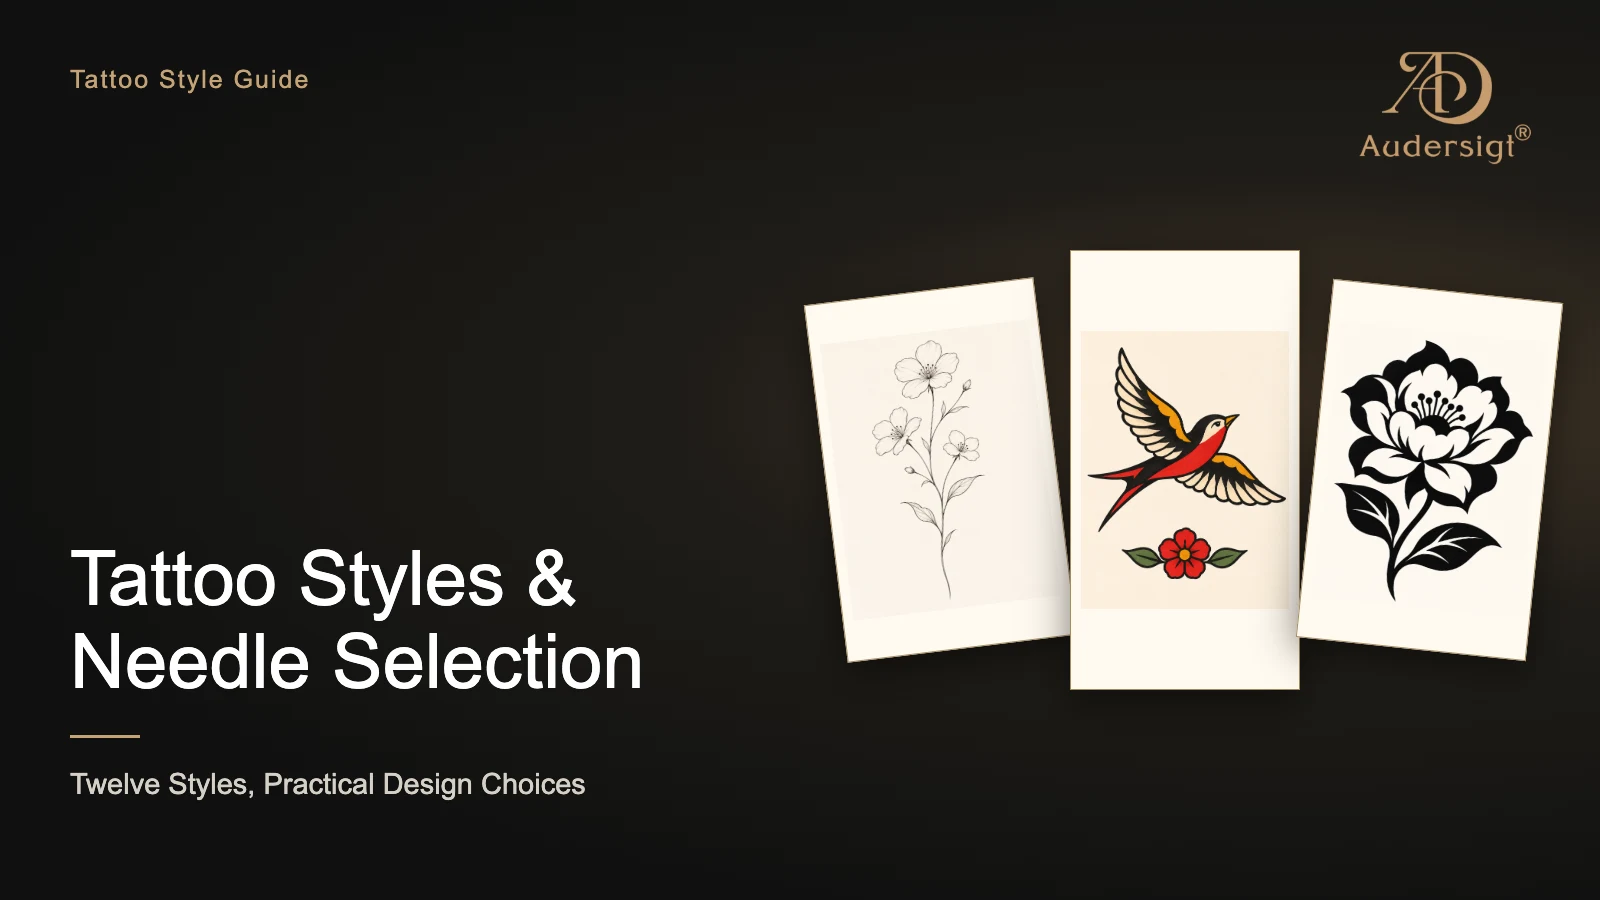
It is also a rose. American tradition may emphasize black outlines and solid colors, and ultra-fine lines may leave only light lines. Black and gray realism relies on light and darkness to build volume. Style will change what you focus on, but will not automatically give you the only correct needle size.
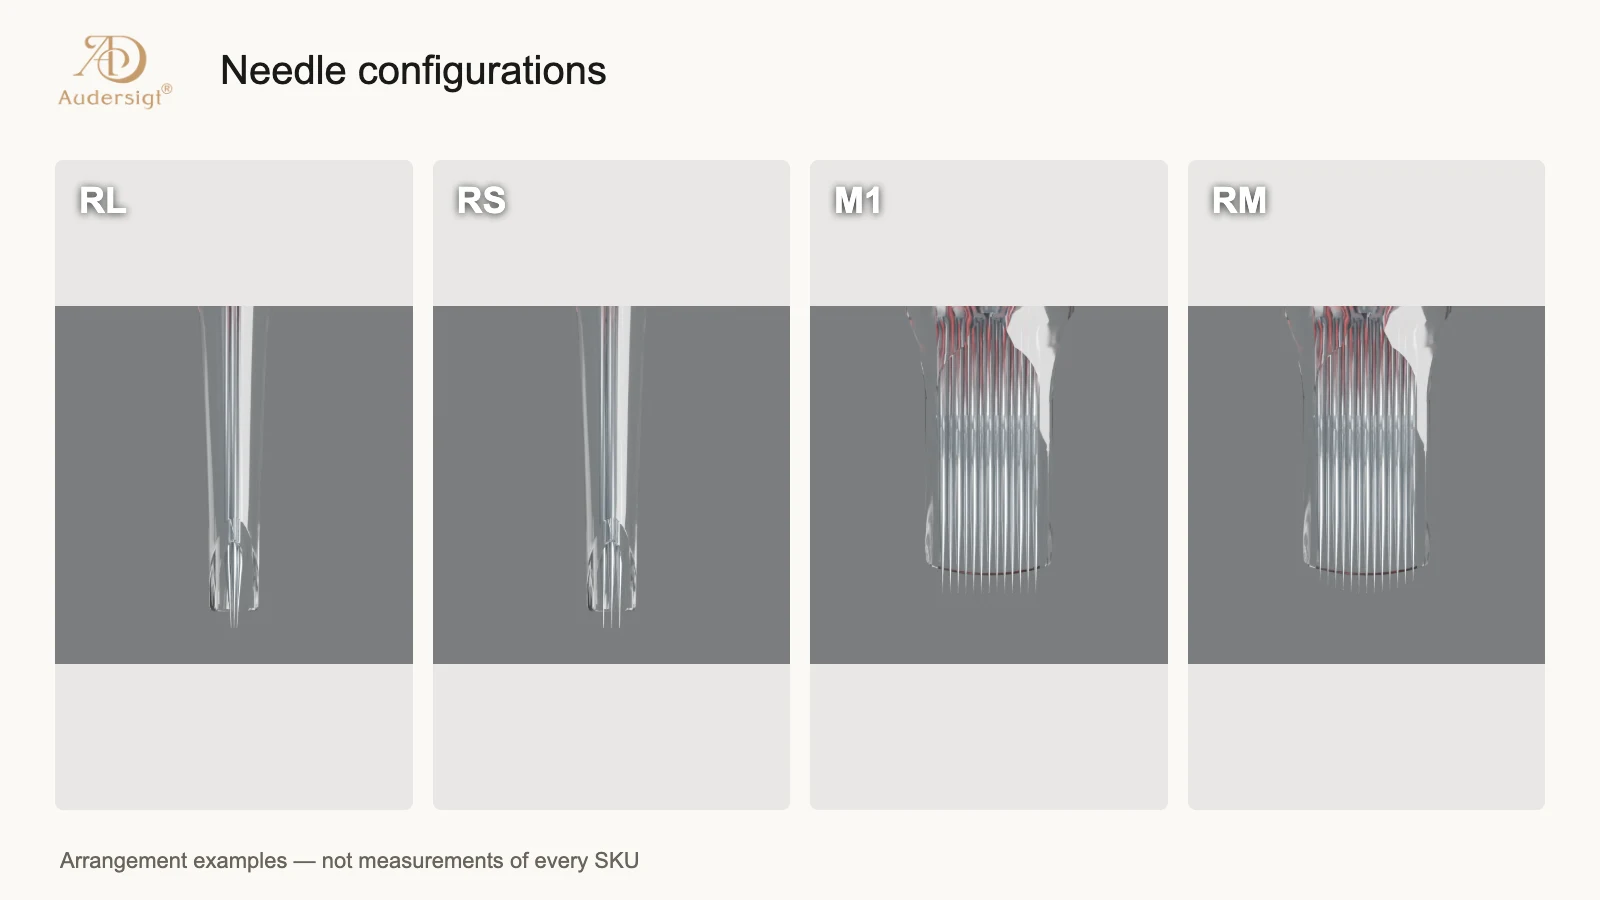
When choosing needles, first break down the work into outlines, details, partial shading, gradients and filled areas, and then compare the needle type, single needle diameter, number of needles and taper. In this way, it is better to explain the reasons for each choice than to place an order directly based on a "style corresponding needle size table".
This guide uses twelve common style and technique labels to organize ideas, and then combines the existing specifications of FLAME to explain how to narrow down the candidate range. If you are not familiar with coding yet, you can read Tattoo Needle Size and Coding Guide first.
First, translate "what style do I do" into "what should be accomplished in this area"
Style is a useful starting point, but there are often several tasks involved in a piece of work. For example, neo-traditional pieces may have bold main outlines, but may also feature subtle botanical textures, soft shadows and large solid colors.
| actual tasks | Observe the work first | Needle set directions for further understanding |
|---|---|---|
| Outline and text | Visual weight of lines, white space between words, corner space | RL; continue to check needle diameter, number of needles, tightness and taper |
| Partial shadows and small areas | Area width, edge shape, and whether it is easy to enter small places | RS or a small pin header that fits the space |
| Continuous grayscale or color transition | Light and dark levels, transition width, light color and white space position | Candidate pin headers such as RM/CM; compare working edges and complete specifications |
| Large area solid color | Block area, edge control, surrounding details | M1 or other pin header suitable for this area |
These directions are used to create a candidate list and do not mean that a certain needle type can only be used for this task, nor do they constitute a guarantee of actual operation results.
Twelve common styles, where to focus on each?
The tags below are not mutually exclusive categories. Dotwork can also be an expression technique, and geometric patterns can also use dots, thin lines or black blocks at the same time. Understanding this crossover is more useful than assigning a fixed pin number to each name.
| style/expression | What to see first | candidate direction | Continue to check |
|---|---|---|---|
| American Traditional Old School | Clear outlines, solid colors and graphic readability | RL outline + pin header suitable for block surface | Required weight of profile, corners, block edges |
| Neo-TraditionalNeo-Traditional | Thick and thin line levels, decorative details and color levels | Different RL candidates + tinted needle sets for local or larger areas | Differences between primary and secondary lines, detail space and color interface |
| Black & Gray Realism | Grayscale, texture and light and dark edges | RM/CM suitable for the area; see the detailed pin set if needed | The difference between light color retention, narrow shadows and large area transitions |
| Color RealismColor Realism | Transitions between colors, volumes and local details | Select the needle group according to the local area, not just rely on one type of needle row | Color block size, boundary line and highlight space |
| Fine Line | Light lines, detail spacing and white space | RL; compare needle diameter, tightness and complete series | The final artwork size cannot be drawn based on the "small needle" alone. |
| Japanese traditional Japanese / Irezumi | The outline of the subject, the background and the layers of large-scale composition | RL and pin headers suitable for each area are selected separately. | Boundary between subject and background, local and overall area |
| Black block surface Blackwork | Black shapes, negative space and edges | Look at RL, M1 or other pin headers by outline and block surface respectively | Do narrow sides and large faces require different candidate specifications? |
| Click Dotwork | Dot Scale, Density Rhythm and White Space | Study the needle group according to the specific point appearance, not numbering according to the name | Target point shape and repeatability, do not consider minimum number of stitches as default answer |
| GeometryGeometric | Straight lines, symmetry, corners and repetitive relationships | Lines, dotted areas and solid color areas are filtered separately | Line hierarchy, minimum spacing, and local boundaries |
| WatercolorWatercolor | Color blocks, gradients, open edges and white space | Select candidate needle groups based on color areas and transition tasks | Local area and color interface, do not regard "watercolor" as a needle type |
| ChicanoChicano | Black and gray, text and delicate expression in specific works | Select separately by text, shadow, and details | The white space of glyphs and grayscale tasks cannot be confused. |
| New School Cartoon | Exaggerated silhouettes, bright color blocks and volume changes | Consider combining RL with a coloring needle set suitable for the area | Spatial differences in contours, details and color transitions |
Blackwork and Tribal should not be simply used as synonyms. Works that also use black block surfaces may have different cultural backgrounds, graphic languages, and creative requirements. This table focuses on design area and equipment selection, and does not replace style background with similar appearance.
For style names and common visual features, please refer to Tattooing 101 Style Guide; the needle selection issues in the table are the dismantling of the task in this article, and are not a copy of its operation prescription.
Thin lines and details: look at the blank space first, don’t rush to choose the minimum number of stitches
A common problem with Fine Line, miniature subjects, or fine lettering is usually: How much space is left between the lines at final size? Which details must be retained and which can be simplified during the design phase?
When selecting a candidate RL, in addition to the number of needles, you should also compare the single needle diameter, needle group tightness and taper. Small needle sets are not a "fits all" shortcut.
For example, there are 0803RL and 1003RL in the current FLAME catalog. Both are three-pin RL, and the single-pin diameters are 0.25 and 0.30 mm respectively. They serve as examples of check parameters, but you cannot commit to final linewidth or usage results based on these two values alone.
First determine the line level and minimum white space on the artwork, and then compare a small number of complete specifications. Writing clearly "which thread do I need" and "why are these two compared" is easier to review than just remembering a common needle size for thin threads.
Black and gray and realism: separate large area transitions and narrow shadows
The continuous gray scale on the cheeks, the narrow shadows near the eyelids, and the small textures in the hair are not the same spatial task. Even if they belong to the same black and gray work, you should not just choose one cartridge to complete all areas according to "Black and Gray Realism".
For wider transition areas, you can further understand the working edge and coverage of RM/CM; for narrow locations, recheck whether the candidate needle group can enter the local area and whether it is convenient to control the boundary.
When choosing between the two RM specifications, first fix the series, single needle diameter and taper, and then look at the match between the number of needles and the area. A larger needle set does not directly equate to softer, faster or less effort.
The current FLAME, 1213RM, and 1215RM are all examples of existing options; they illustrate that adjacent pin numbers can be compared, and do not mean that this article has measured that one model is more suitable for portraits.
Color realism also requires differentiating between these tasks, but further involves color areas and boundaries. Don’t skip analyzing the space and edges of your artwork just because you’re using color.
Traditional, neo-traditional and new school: outline levels and solid colors should be chosen separately
How much visual weight does the silhouette have to bear? Do interior details require the same weight of thread? Are the areas of solid color next to small white spaces? These questions are more specific than "how many stitches should be used for traditional style".
If you've narrowed down your candidates to the FLAME RL, also in 0.35 mm, you can further check existing options like the 1207RL, 1209RL or 1214RL. Still want to confirm the series and taper before changing the stitch count; these codes are not a default set of traditional styles.
After completing the contour selection, analyze the solid color areas individually. Large blocks of color in the main body, smaller blocks of color within the petals, and edges near text may require different coverage and control space.
Blackwork and large areas: look at coverage, but also edges and negative space
Blackwork can contain solid colors, as well as thin lines, textures, and white space. When analyzing your artwork, start by distinguishing between large contiguous areas, narrow black edges, and the negative spaces interspersed between them.
Larger areas are worth knowing about larger pin headers, but more pins does not automatically equal greater practical efficiency. The specific choice will still be influenced by the area shape, boundaries, complete product specifications and actual use conditions.
Taking the current FLAME M1 directory as an example, 1215M1 and 1223M1 are both existing options. When comparing, you can first ask: Can this area accommodate it? Do the edges require smaller areas of control? Is it necessary to reserve another candidate for local use?
Don’t let “fill in quickly” replace your judgment of edges and white space. This article does not provide the same-condition test rankings for machine load or coloring efficiency.
To mix styles, separate by area first, no need to find a "universal needle size"
A geometric botanical composition might use thin outlines, stippled shadows, and solid black shapes all at the same time. Neo-traditional animal themes may also retain realistic grayscale within heavy outlines.
When you encounter such a work, you can write four lines next to the artwork: Main outline, inner details, shadow/transition, solid color/negative space. Mark the area, line weight and narrowest spacing line by line, and then select the needle group direction worthy of comparison.
Use style as the entrance and tasks as filtering conditions. A "geometric style" may involve the study of straight lines, point-like expressions, and solid colors simultaneously. The needle list should indicate which task each corresponds to, rather than just saying "geometry specific".
When the size or body parts of the artwork change, these areas should be revisited and the needle size combinations of the original work should not be copied exactly.
Back to full specifications: Same needle type, multiple variations possible
Before purchasing, at least check the needle type, single needle diameter, number of needles, taper, specific series, compatibility range and packaging quantity. Case color and pin abbreviations are not adequate substitutes for these items.
For example, FLAME 1207RL and 1207RS: the single needle diameter is 0.35 mm, the number of needles is 7, and the four types of FLAME are Long Taper (long taper). The arrangement of the two is different; the specific taper length should be confirmed with the supplier, and it cannot be inferred that the grinding profile is exactly the same based on the common long taper label.
| FLAME current series | Examples of existing options that have been checked | How to use these examples |
|---|---|---|
| RL circular needle secant | 0803RL、1003RL、1005RL、1007RL、1207RL、1209RL、1214RL | Compare needle diameter, number of needles and series according to line tasks, not as a fixed formula for style |
| RS round needle fogging | 1203RS、1205RS、1207RS、1209RS、1211RS、1214RS | Check by partial area and full specification, 0.25 mm RS combination does not exist by default |
| M1 double row staggered pin header | 1209M1、1213M1、1215M1、1223M1 | Build candidates from area and edge control, no promises of efficiency or effectiveness |
| RM curved pin header | 1207RM、1209RM、1213RM、1215RM、1223RM | First check the diameter and taper, then compare the area and number of needles; do not regard RM starting with 10 as a sold specification |
What is shown in the table is an example of the existing catalog. It is not a real-time inventory commitment, nor does it mean that each series can freely combine all needle diameters and needle numbers. The complete options and inventory are subject to the actual product page.
For common uses of RL, RS, M1, RM/CM, please refer to Killer Ink needle classification description; the FLAME code in this table is based on the actual product options.
Write down the reasons for your choice so you can have a basis for replenishment.
It is recommended to keep records in the following order: Style of work → Specific area/task → Final artwork dimensions → Candidate complete specifications → Comparative conditions → Actual observations → Reason for selection.
For example, "the outer outline of a rose needs to establish a clearer hierarchy with the internal details. Comparing two RL specifications of the same series and the same needle diameter" is easier to review than "using large needles in the traditional style".
When testing is required, first record the fixed conditions and changed parameters, and then organize the observations. If there is no test content, it will be written as a comparison question; if there is no named technical review, it will not be signed "Tattoo Artist Verified".
Frequently asked questions
Does Fine Line have to use 1RL or 3RL?
No. The style name alone does not determine the number of stitches, it also depends on the target lines, artwork size, detail spacing, needle diameter, tightness and taper. Whether the current supplier has the corresponding combination also needs to be actually checked.
Can I only use RM for black and gray realism?
It cannot be limited in this way. Large transitions, narrow shadows and detail are different tasks, and the RM can be a candidate, but it is not a substitute for judging each area and the full specs.
Is Blackwork the more stitches the better?
No. Block size, edges, negative space and actual usage conditions all influence selection, and more stitches do not directly equate to faster, more uniform or better fit.
Which needle should be used for spotting and geometric fixation respectively?
It is not advisable to fix the needle number according to the label. First check whether the work is made of lines, dots, gradients or solid colors, and then check the corresponding candidate specifications; both labels can also appear in the same work.
As long as the needle size is the same, can I reproduce someone else's style?
No. Complete needle specifications, work dimensions, creator's techniques and actual usage conditions all need to be understood. Equipment codes are not a substitute for design judgment and professional training.
Is a long taper necessarily better for thin lines or more gentle?
Taper labels alone do not guarantee results or skin reactions. The actual taper section, needle diameter, arrangement and series should be checked as a variable in the complete specification.
What should I confirm with the supplier before placing an order?
Confirm brand and series, complete specification code, needle diameter, number of needles, taper, machine/grip compatibility range and quantity per box. If the specifications or related information are not clear, fill in the information first and do not make guesses based on the color of the casing or the name of the style.
The end point of needle selection is to be able to clearly explain "why you choose it"
Style helps you understand visual direction, assignments help you narrow down your candidates, and complete specifications and practical observations help you make your choice.
First look at the lines, points, gray scales, blocks and white space in the work, and then choose needles worth comparing. The same work can have different tasks and different specifications; there is no need to find a universal needle number for each style.
Continue reading: In-depth selection by question
Find your next tattoo setup
Shop productsRelated Articles
Best Tattoo Stencil Printers: X6 vs T08FD
Compare the Audersigt X6 and T08FD tattoo stencil printers by paper support, connectivity, battery, controls, size, and real studio workflow.

Best Wireless Tattoo Machines: A Specification-Led Studio Guide
Compare Audersigt D2 Pro, KT088, KT108 and MAX PRO by documented stroke, battery and grip configurations, with a practical buying checklist.
Tattoo Machine Stroke Guide
Understand stroke, needle protrusion and depth, then compare machine settings, cartridges and power systems without relying on a universal setup chart.